
I am so glad to propose this Jiji the cat free crochet pattern !! It will soon be completed with its favorite little witch’s pattern, on my shop 😉
Materials
- Yarn : black, lilac, white and some black embroidery thread for the eyes (< 1 ball of each). Here are the exact references I used :
- Main color : Ricorumi – Black N°060
- Inside ears + nose : Ricorumi – Lilac N°017
- Eyes : DMC Natura Cotton – Ibiza N°01 + black embroidery thread DMC.
- Crochet hooks : 2,75 mm and 2 mm (all of the cat is crocheted with a 2,75mm crochet hook, except the eyes which are crocheted with a 2 mm crochet hook).
- Stitch markers
- Tapestry needle
- Embroidery scissors (any tiny scissors will do just fine)
- Stuffing
Abbreviations used in the pattern
- ch : chain
- st : stitch
- sc : single crochet
- sl st : slip stitch
- hdc : half double crochet
- dc : double crochet
- inc : increase
- dec : decrease
Pattern readings and notes
- [xx] : the number indicated between the square brackets determines the amount of stitches per row/round.
- (xxx) x 2 : instructions given between these brackets ought to be repeated across the round a number of times (e.g.: here twice).
Jiji the cat crochet pattern : ears
First ear :
Make 2 pieces (a black one and a lilac one). Begin with the lilac one :
Row 1 : make 2 sc in a magic ring [2] Turn, ch1
Row 2 : sc in all [2] Turn, ch1
Row 3 : 1 sc, 1 inc [3] Turn, ch1
Row 4 : 1 inc, 2 sc [4] Turn, ch1
Row 5 : sc in all [4]
Fasten off and weave in ends.
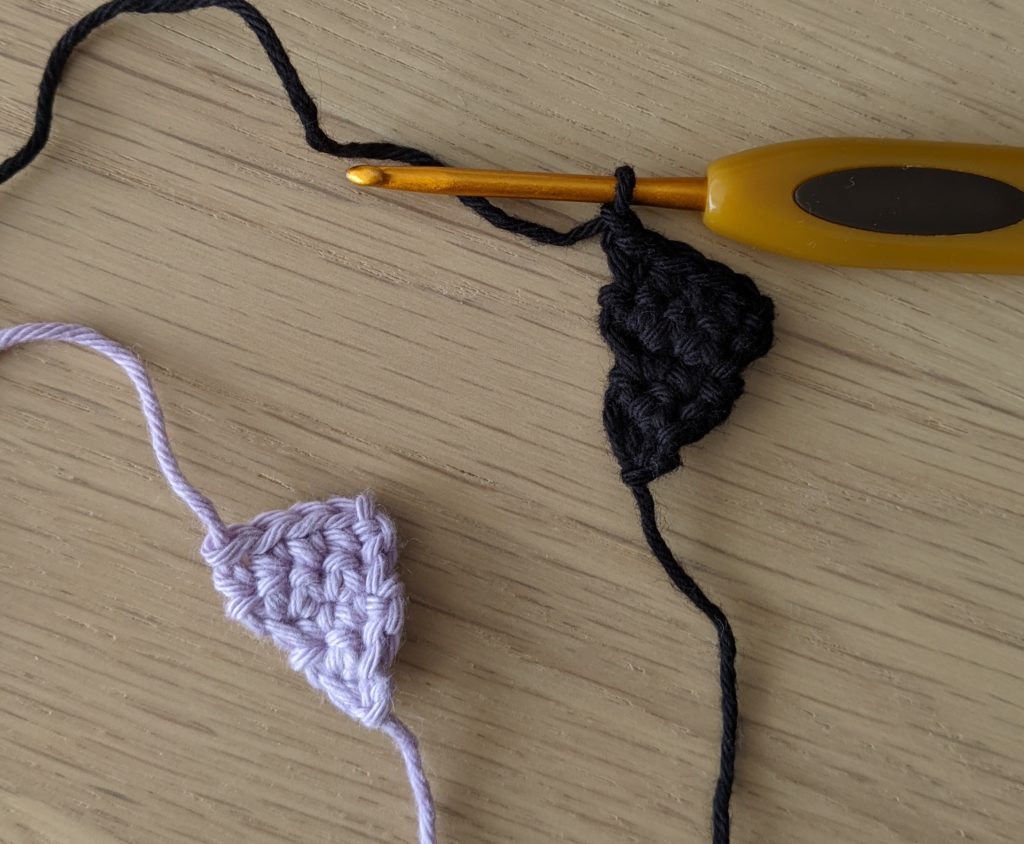
Careful : at the end of the black ear, do not fasten off. Ch1 and…
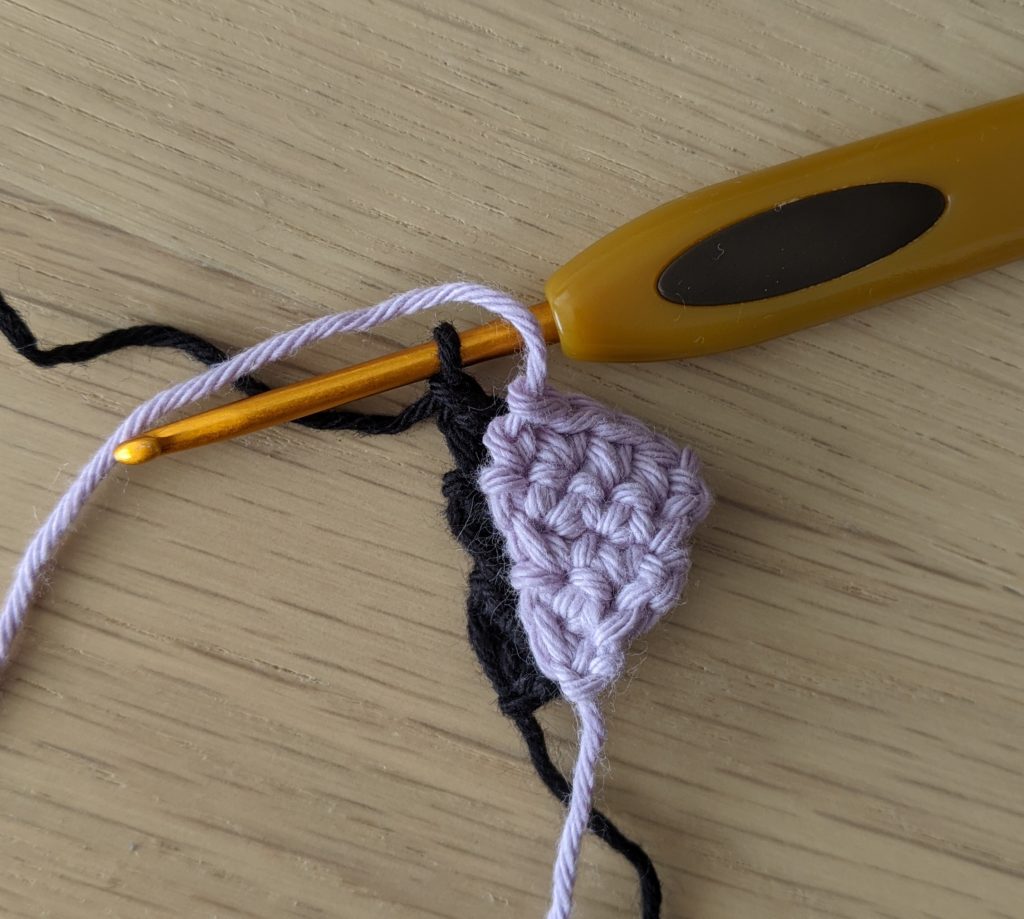
Put the lilac ear on top of the black ear and make 1 sc in each row end (in both ears at the same time). Once you reached the 1st row :
- make 2 sc in this hole ;
- make 2 dc in the magic ring ;
- make 2 sc in the 1st row end on the other side of the ear ;
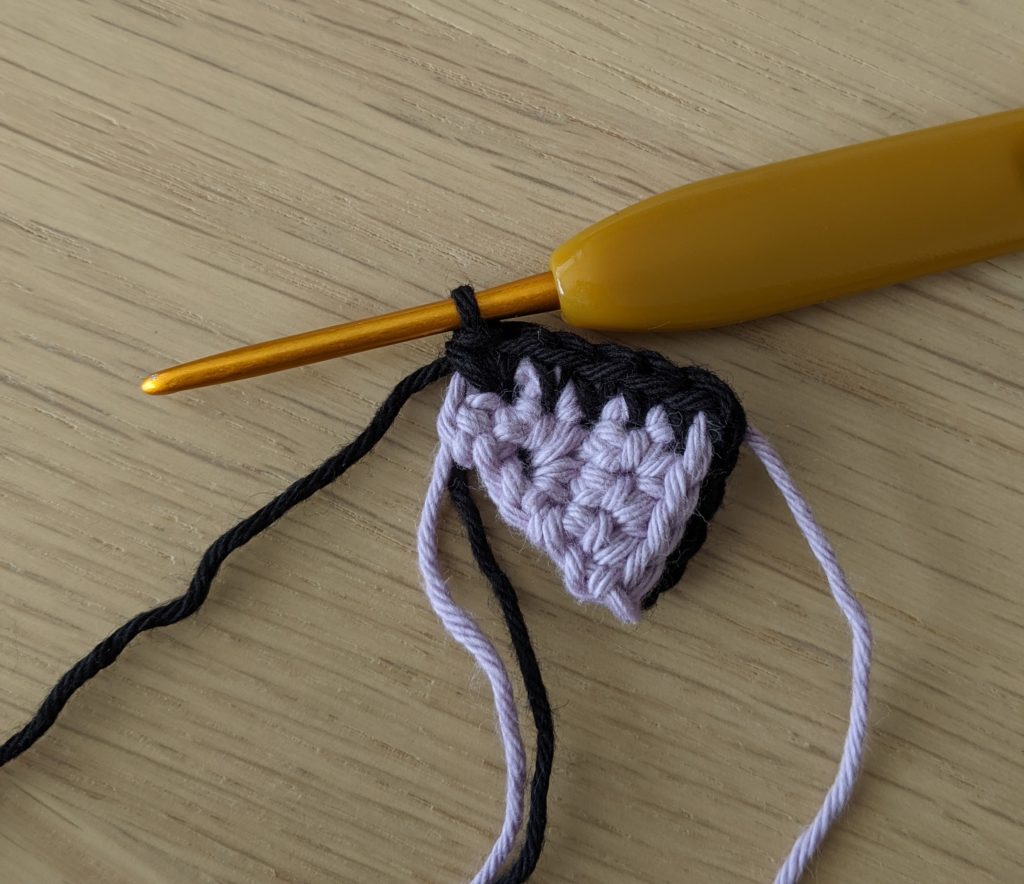
- coming down the other side of the ear, make 1 sc in each row end.
Fasten off, leaving a tail long enough to sew the ear to the head.
 |
 |
 |
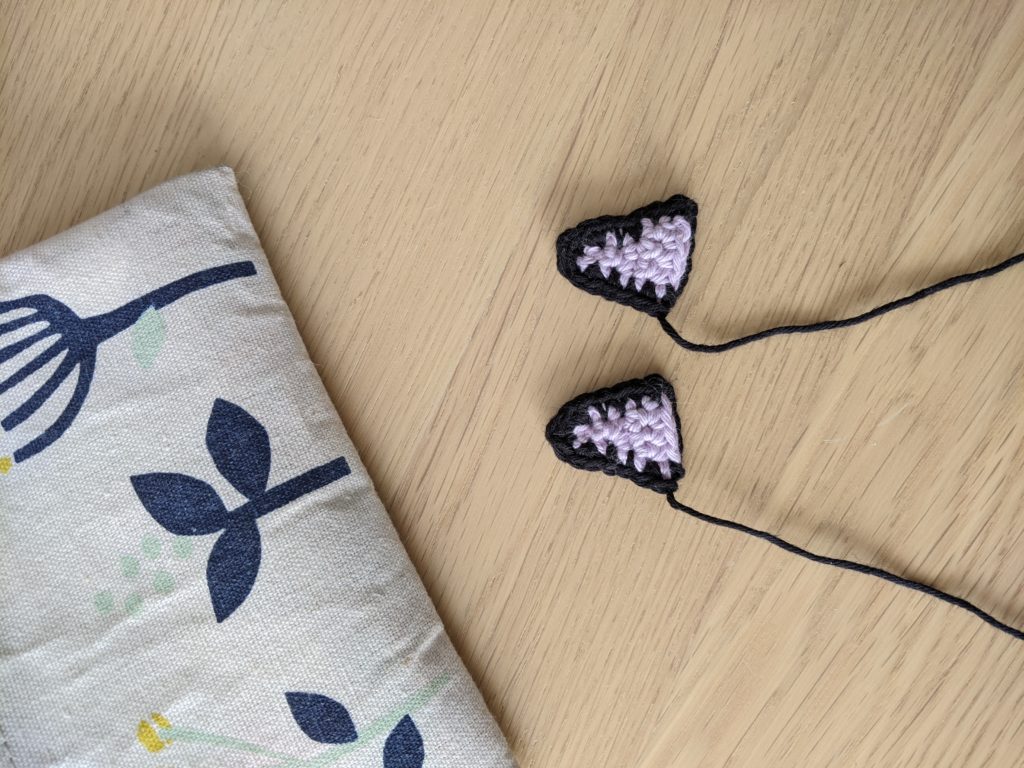 |
Second ear :
Make 2 pieces. Follow the same instructions as the first ear, except on Row 3 and 4 where the increases are reversed :
- Row 3 : 1 inc, 1 sc [3]
- Row 4 : 2 sc, 1 inc [4]
Eyes
Make 2, in white, with a 2 mm crochet hook.
Rd 1 : 6 sc in a magic ring, close with 1 slst in the 1st stitch [6]
Rd 2 : ch1, 2 sc, 1 hdc, ch1, 1 sc, 1 slst.
Fasten off, leaving a tail long enough to sew the eyes to the head.
Jiji’s head and body
Rd 1 : 5 sc in a magic ring [5]
Rd 2 : inc in all [10]
Rd 3 : (1 sc, 1 inc) x5 [15]
Rd 4 : (2 sc, 1 inc) x5 [20]
Rd 5 : (1 sc, 1 inc) x10 [30]
Rds 6 – 8 : sc in all [30]
Rd 9 : (3 sc, 1 dec) x6 [24]
Rd 10 : (2 sc, 1 dec) x6 [18]
Rd 11 : (1 sc, 1 dec) x6 [12]
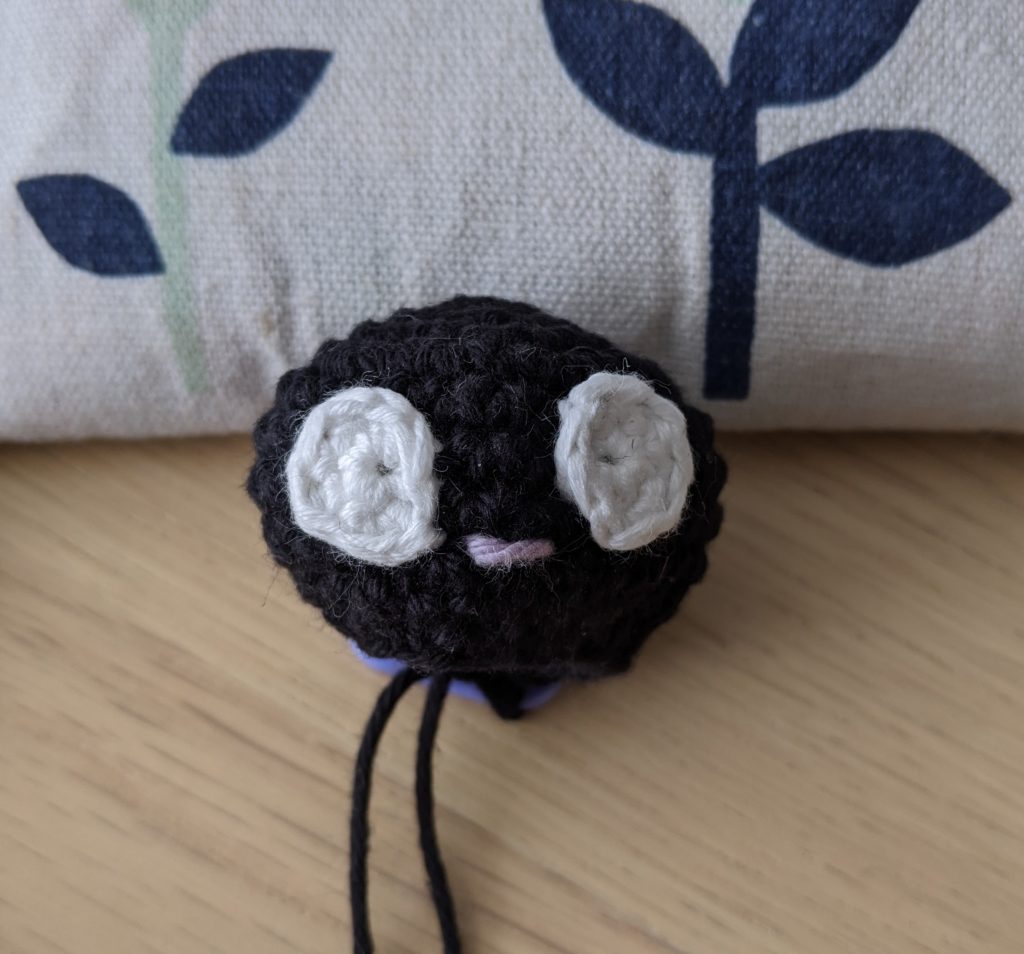
Put the head on hold for now. We will now sew the ears, the eyes and embroider the nose :
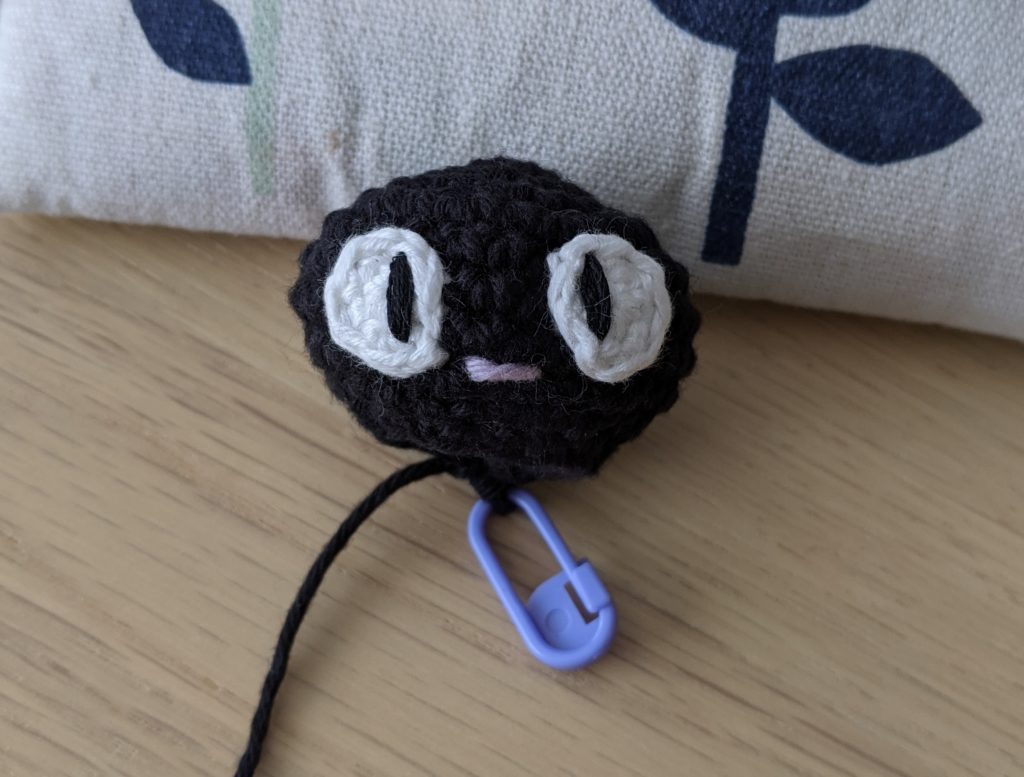
- Embroider the nose between Rd 8 and 9, over 2 stitches.
- Sew the eyes on each side of the nose, leaving 3 to 4 stitches between the 2 eyes. Embroider a black line inside each eye.
- Sew the ears on top of the head, leaving 1 stitch between them.
 |
 |
 |
|
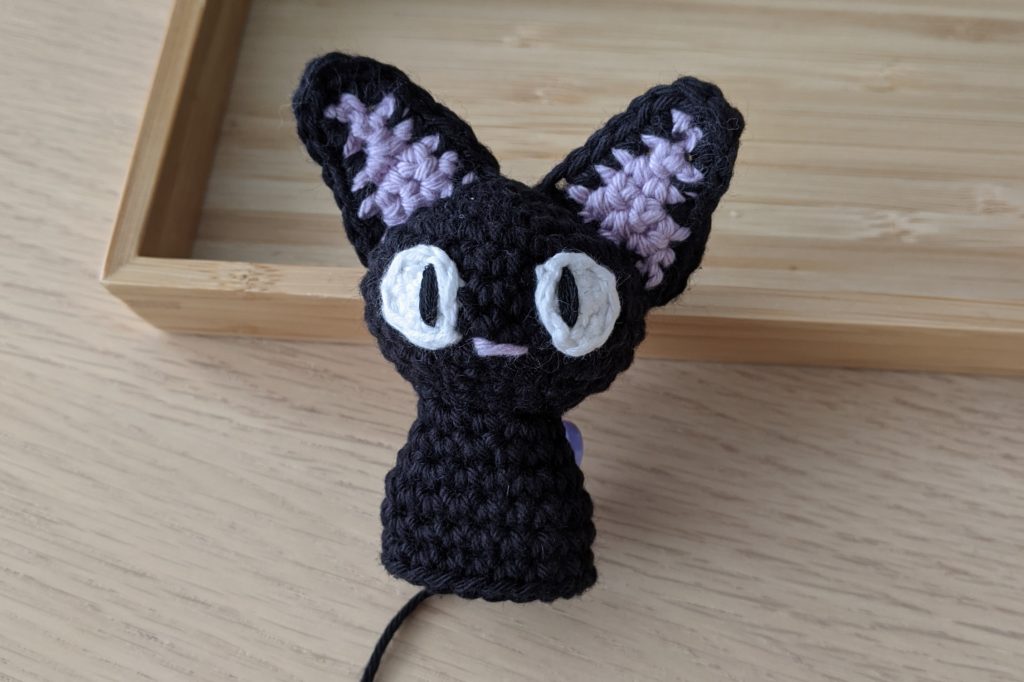
Stuff firmly Jiji’s head.
We can now finish off the head and body. Remember to keep stuffing the body as you go
Rd 12 : (4 sc, 1 dec) x2 [10]
Rd 13 : (1 sc, 1 inc) x5 [15]
Rd 14 : sc in all [15]
Rd 15 : (2 sc, 1 inc) x5 [20]
Rds 16 – 18 : sc in all [20]
Rd 19 : (2 sc, 1 dec) x5 [15]
Rd 20 : sc in all [15]
Rd 21 : (1 sc, 1 dec) x5 [10]
Rd 22 : 5 dec [5]
Fasten off and weave in ends.
Front legs
Make 2, in black.
Rd 1 : 4 sc in a magic ring [4]
Rd 2 : inc in all [8]
Rd 3 : sc in all, in back loops only [8]
Rd 4 : (2 sc, 1 dec) x2 [6]
Rds 5 – 7 : sc in all [6]
Fasten off leaving a tail long enough to close the leg and sew it to the body.
The front legs don’t need to be stuffed.
Jiji the cat crochet pattern : back legs
Make 2, in black.
Rd 1 : 5 sc in a magic ring [5]
Rd 2 : (1 sc, 1 inc) x2, 1 sc [7]
Rds 3 – 4 : sc in all [7]
Fasten off leaving a tail long enough to close the leg and sew it to the body.
The back legs don’t need to be stuffed.
Tail
Make 1, in black.
Rd 1 : 5 sc in a magic ring [5]
Rds 2 – 12 : sc in all [5]
Fasten off leaving a tail long enough to close the tail and sew it to the body. The tail doesn’t need to be stuffed.
Jiji the cat amigurumi pattern : assembling
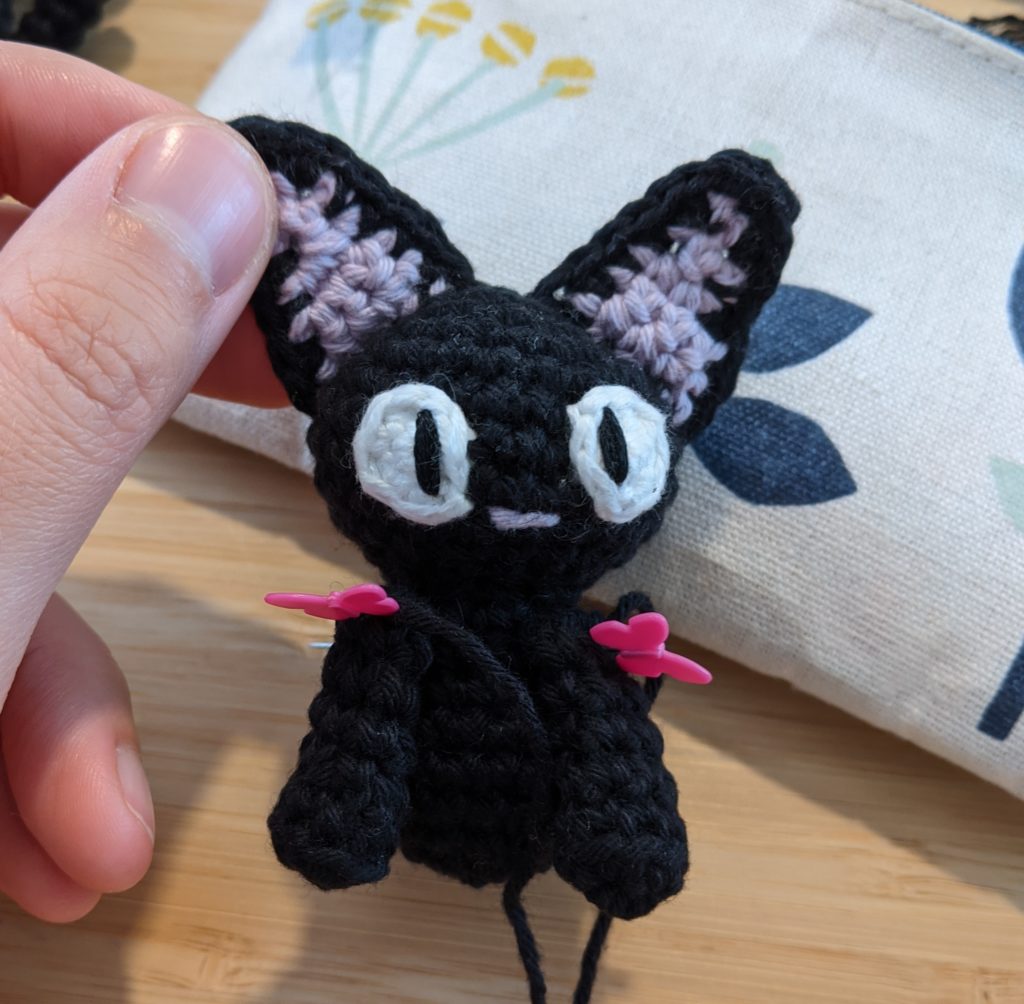
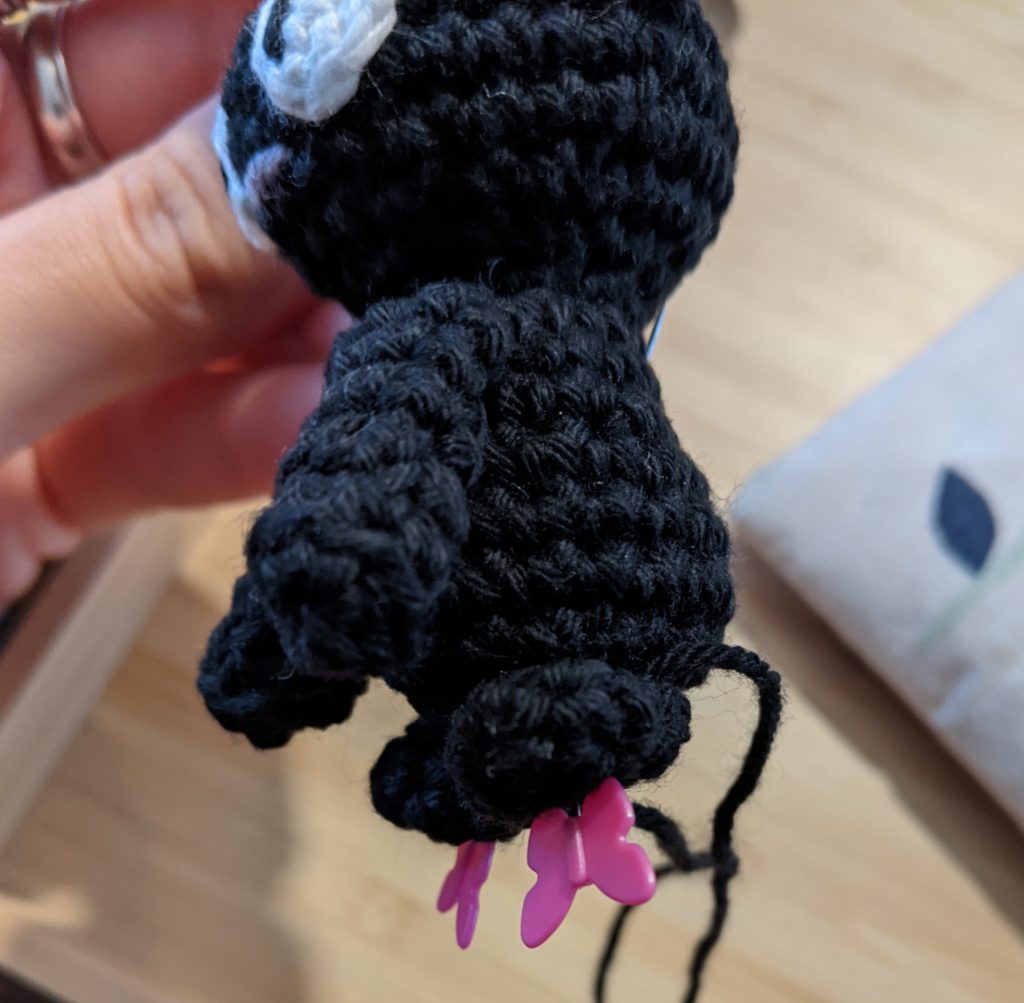
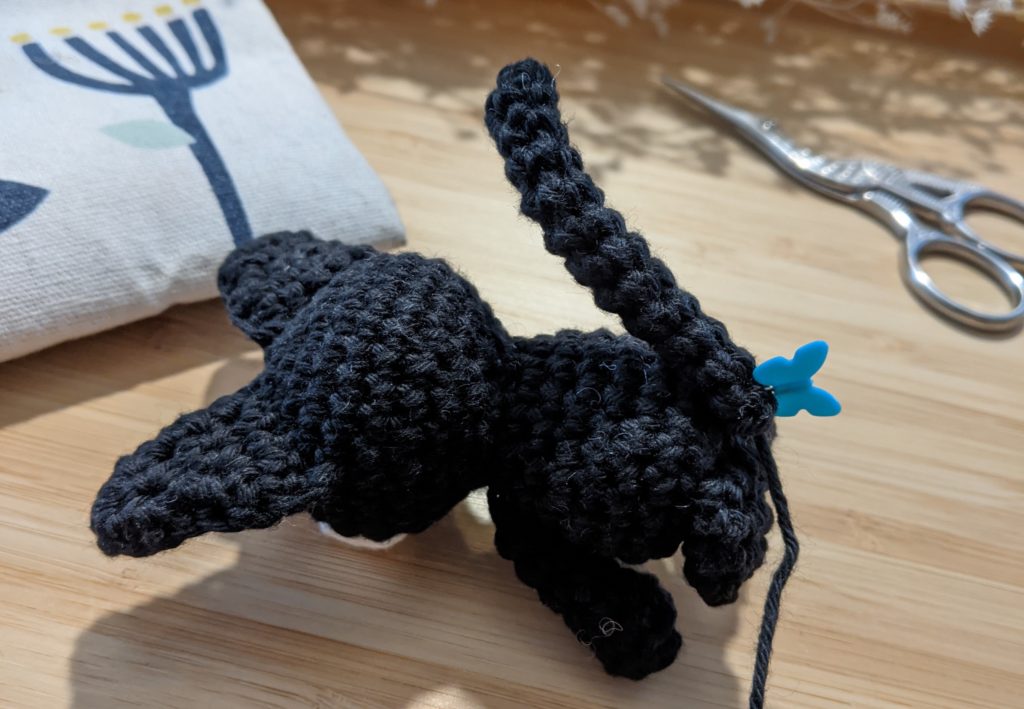
To finish off :
- Sew the front legs between Rd 13 and 14.
- Sew the back legs under the body, leaving 1 stitch between them, lightly open (forming kind of a V).
- Sew the tail around Rd 20, centered between the 2 back legs.
 |
 |
 |
|
Congratulations, you’re done !
I hope you’ll enjoy this amigurumi. Don’t hesitate to share your awesome creations with me on Instagram (notifying me : @lafabriquedessonges), to share where you got this pattern from, and mostly, to give me some feedback if something is not crystal clear or if you notice a mistake in the pattern.
If you want to take a look at my other designs, you’re more than welcome to get a sneak peek at my Etsy shop.
Have fun !!
Mélanie
